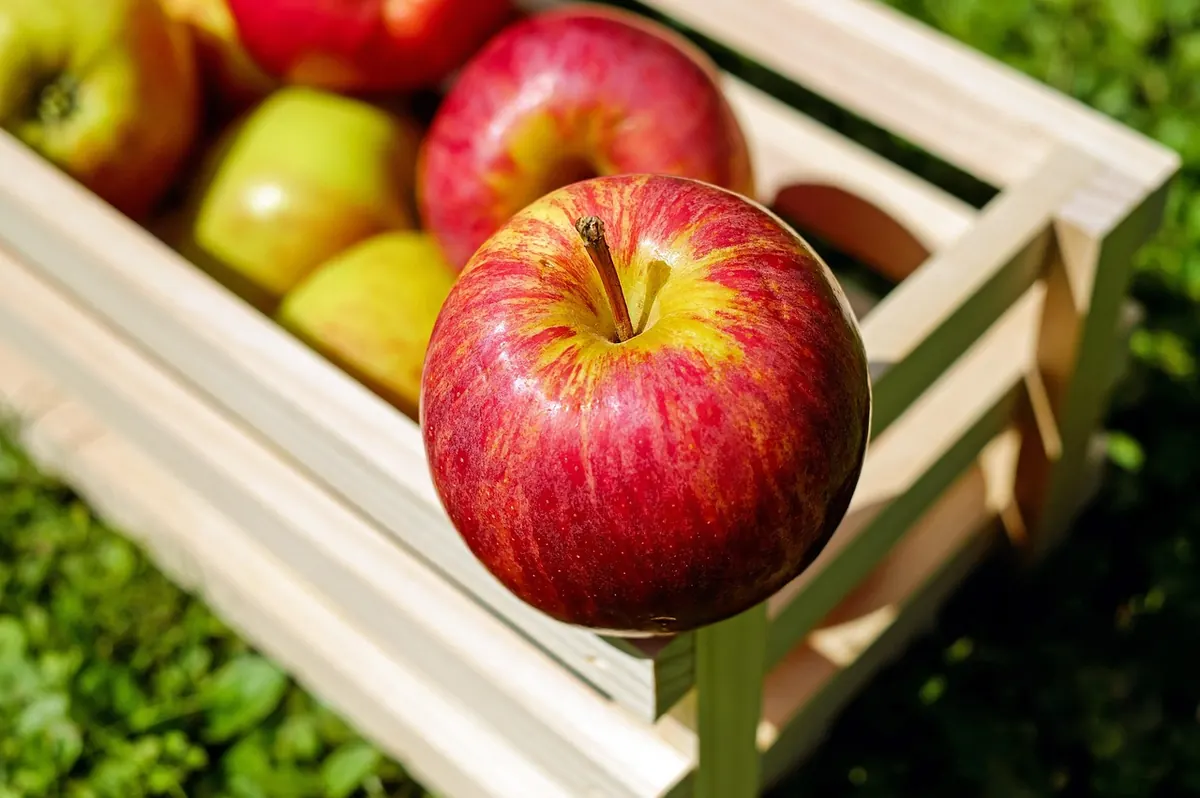
Fruit ripens on its own schedule, and the equipment that helps most is unglamorous: a cheap hygrometer, a slatted crate, a paper bag, a mat to catch the drips. Four things decide how well it goes — temperature, humidity, airflow and ethylene, the gas fruit releases as it softens. Get those roughly right and a hard pear finishes buttery rather than mushy. Get them wrong and you get mould on the skins, fruit that shrivels before it sweetens, or a whole tray that goes over in a day because one peach was already past its best. None of the tools below is expensive, and most can be found in a kitchen drawer or a garden centre for the price of a coffee.
Humidity is the variable most home ripeners ignore, and it is the one you cannot judge by touch. A small digital hygrometer — the sort sold for greenhouses, reptile tanks and cigar boxes — costs very little and tells you what the air is actually doing. Put it beside the fruit at the same height, not on a shelf across the room.
Most fruit ripens happily at 85 to 95 per cent relative humidity. Drier than that and apples, pears and citrus lose water, the skins wrinkle and the flesh turns mealy. Wetter than that and condensation forms on the fruit and the container, which is exactly the condition grey mould likes. Cheap hygrometers drift, so check yours now and then: seal it in a bag with a small dish of damp salt for a few hours and it should read close to 75 per cent. If it is far out, note the error or replace it. A thermometer is a useful companion, since ripening runs faster in a warm room and can stall altogether in a cold one.
Ethylene and carbon dioxide build up around fruit in still air, and so does heat. That is why a sealed plastic tub is a poor home for ripening fruit: it holds moisture, traps the gas and creates the warm, damp pocket that mould needs. Slatted wooden crates, mushroom trays, ventilated plastic baskets and cardboard trays all do the job better because air can move through them.
Soft fruit such as peaches, plums and figs belongs in a single layer. Firm fruit — hard pears, quince, unripe tomatoes — can go two or three deep if you turn them every day so the underside is not left sitting in its own moisture. Leave a finger's width of space at the top of the crate and around the sides, and if you have several boxes, stack them with a gap between each rather than nesting them tight.
Cardboard is excellent because it wicks moisture away from the fruit, though it also soaks up drips, so line it with paper you can replace. Handle everything like eggs. Bruises are where rot starts, and a knocked pear will go off days before its neighbours.
Bags do the opposite job to crates. They hold ethylene close to the fruit, which speeds ripening, and they keep humidity high. Which bag you reach for depends on what you are trying to achieve.
Check bags daily. A paper bag with a ripe banana or apple in it will soften an avocado in a couple of days; leave it for four and you will be scraping the flesh out with a spoon. Once fruit reaches the ripeness you want, move it out of the bag and into the fridge to slow things down.
A mat sounds trivial until a split peach ruins a whole tray. Absorbent liners — kitchen paper, plain newsprint, thin corrugated card — soak up juice and can be swapped out in seconds. They also stop fruit rolling and knocking against hard surfaces. Non-slip matting cut to the shelf or crate size keeps a stack from sliding when you pull it out.
For softer fruit, a layer of bubble wrap or thin foam under the liner cushions pressure points. Cleanliness matters more than most people expect: spores from a single mouldy fruit spread quickly through a closed crate, so check and remove suspect fruit every day, wash crates in hot soapy water between batches, and let them dry fully before reusing. If fruit smells fermented or has visible mould, throw it out rather than trimming around the damage — mould travels further than you can see.
If you are starting from nothing, this is enough:
You do not need a dedicated ripening appliance, a sealed glass jar or a set of branded containers. Ethylene-absorbing sachets have their place, but mostly in the fridge, where the aim is to slow ripening rather than encourage it. Fancy humidity controllers are pointless on an open shelf, because the air around the fruit changes every time a door opens. Buy a hygrometer, a crate and a roll of paper first, then add anything else only when you can point to a problem it solves.
Ripening at home is mostly a matter of paying attention. A hygrometer tells you what the air is doing, a slatted crate keeps it moving, a bag concentrates ethylene when you want speed, and a liner keeps the mess and the mould in one place. Check the fruit twice a day, move it along when it is ready, and clean up as you go. If you plan to preserve, bottle or jam the results, follow a tested recipe from a reputable source rather than improvising with quantities. Do that and the kit will pay for itself many times over in fruit that would otherwise have gone in the bin.
Photo: Couleur / Pixabay
Simple UK recipes that turn soft, overripe bananas, berries and stone fruit into banana bread, smoothies, compote...
Learn how to ripen green tomatoes indoors before frost using paper bags, boxes and trays, with simple light and...
How to choose early-ripening fig varieties, grow them in pots, protect them over winter and tell when the fruit is...

Bring your fruit to perfect ripeness at home.
